Overview
After you have your Nimbus account set up, you are ready to take advantage of the blazingly fast and powerful Nimbus workspace. Even though there are other ways to connect to the Nimbus workspace, we believe the Nimbus VSCode extension will show you the seamless development experience on Nimbus.
In this documentation, we will show you how to get the Nimbus extension set up on your VSCode with the following instructions.
Installation Instructions
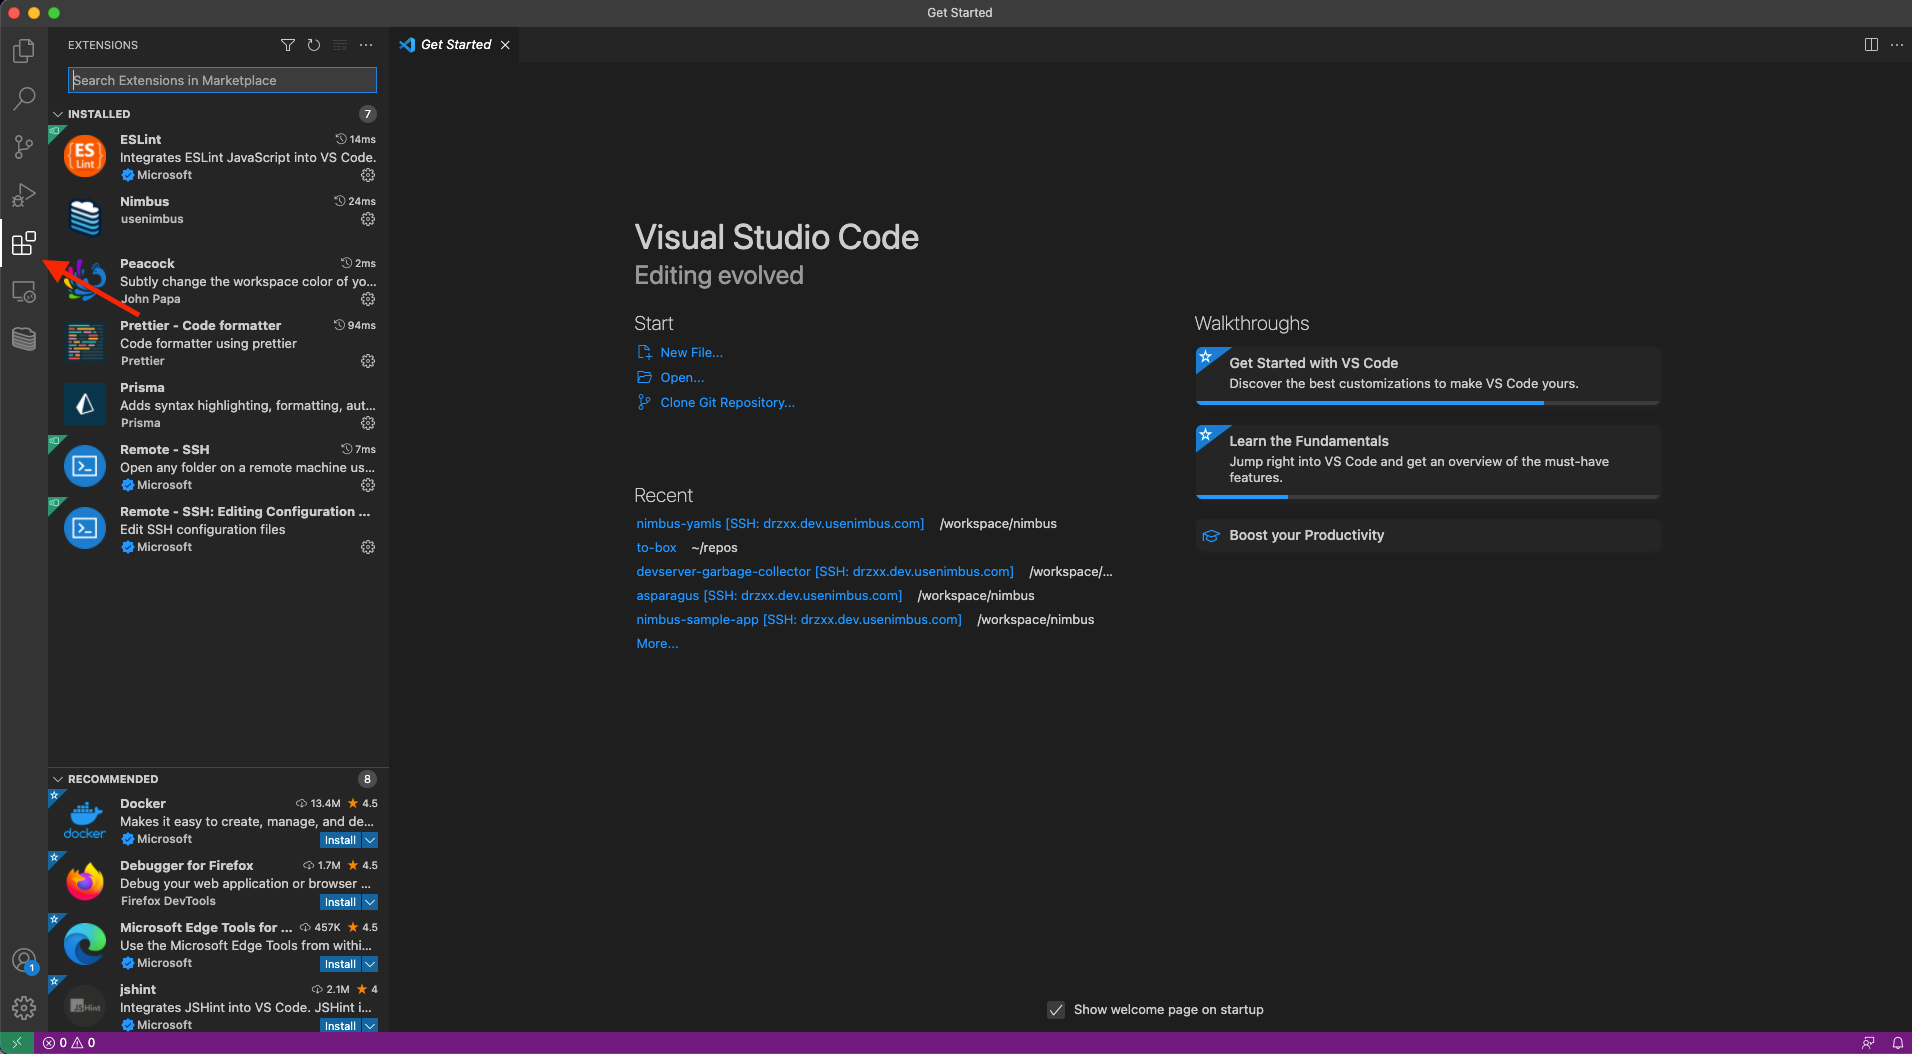
- Open your VSCode and click the `Extensions` icon

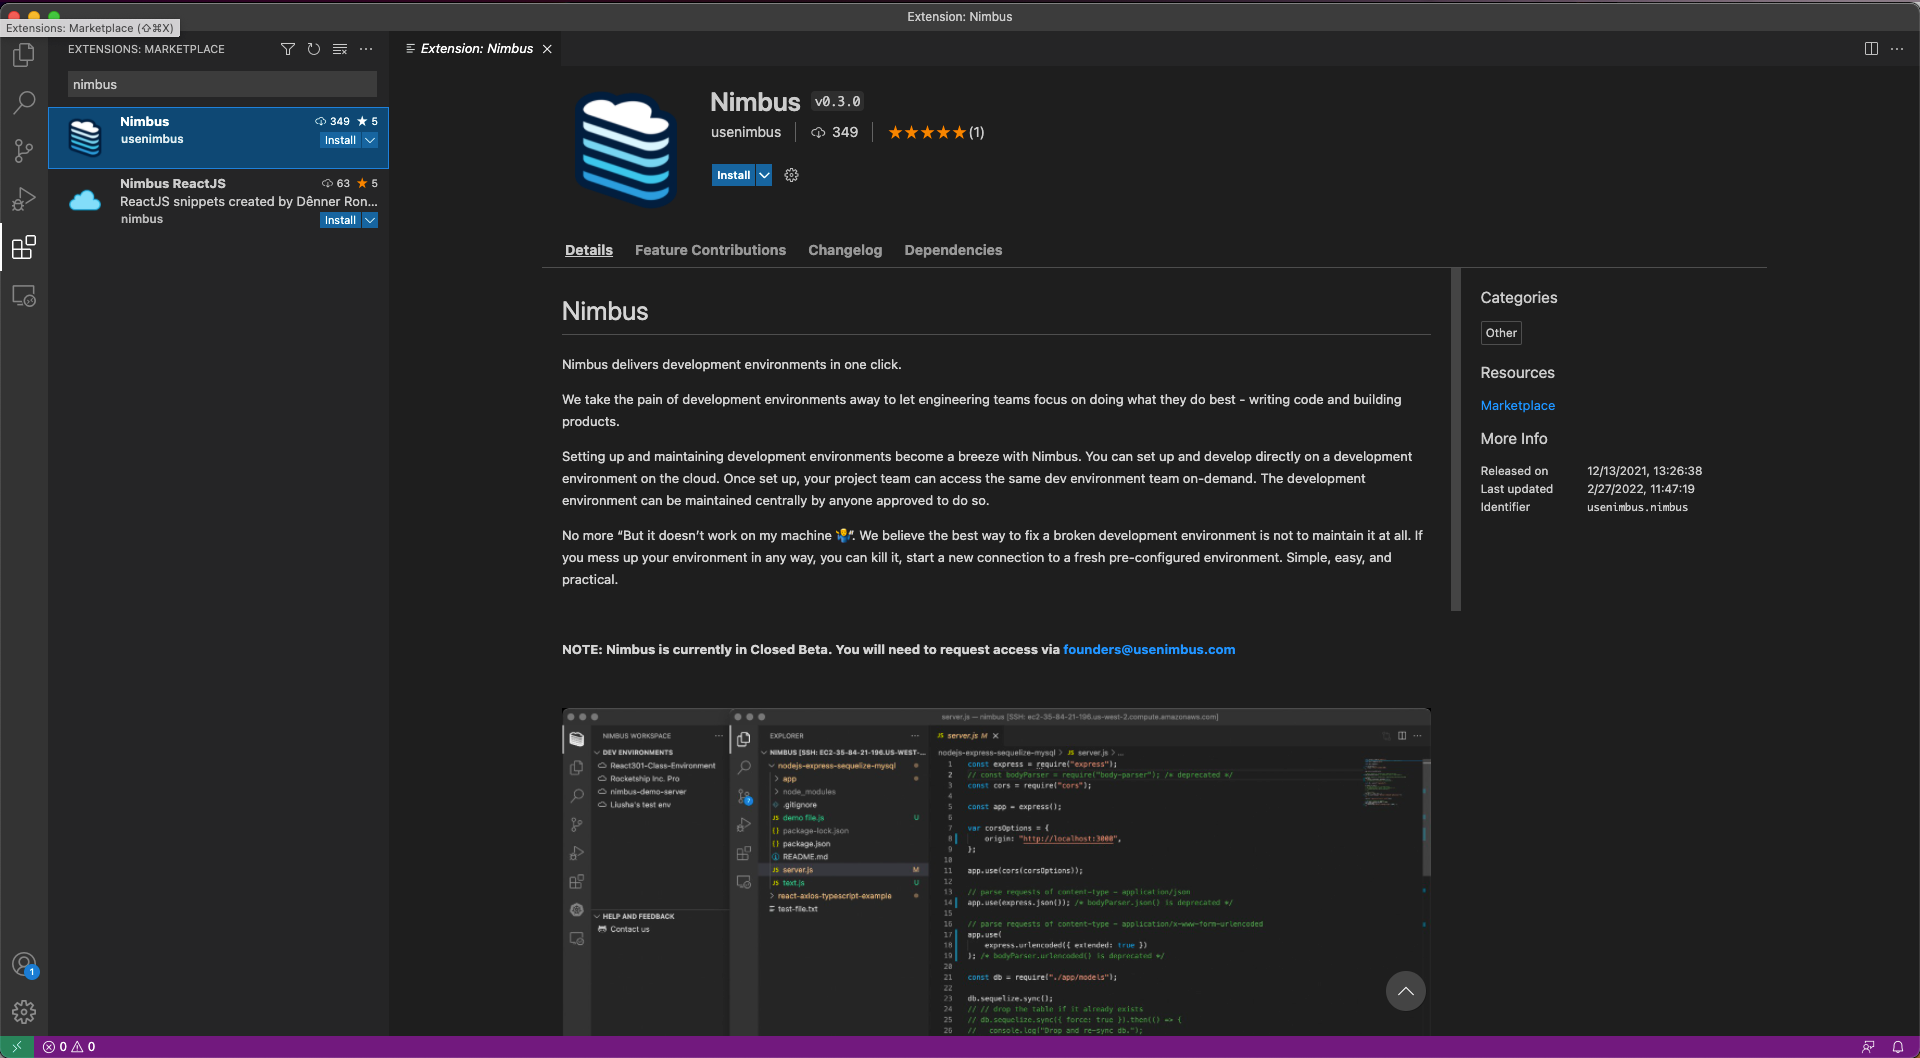
- Input “Nimbus” in the Extensions panel search bar and you should see the following

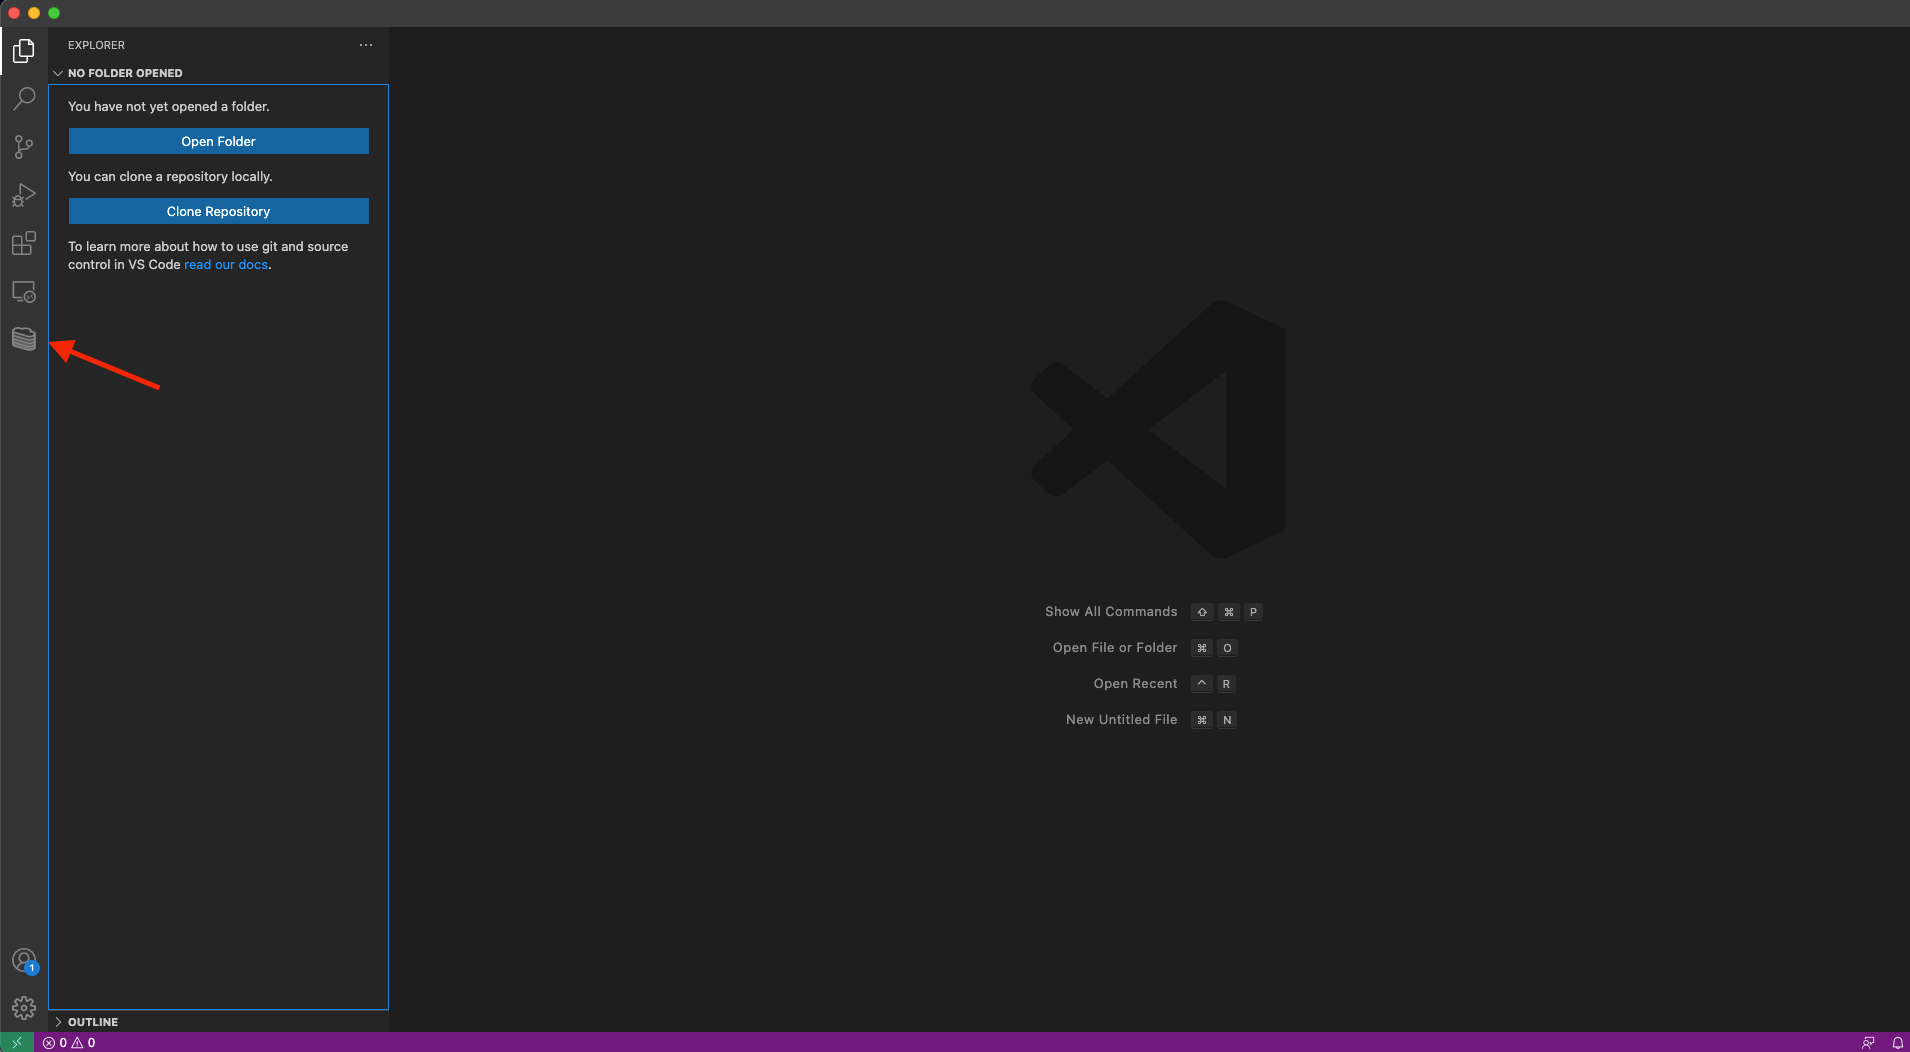
- Click the Install button to install the extension. Once it is installed you should see a Nimbus icon appear in your activity bar

- Click the Nimbus icon, log in with your email/password, and then you are all set.
Next step
Now, you have installed the Nimbus extension and logged into your account. Follow the next tutorial to learn how to reserve your first Nimbus workspace.
