This guide will walk you through how to create your first workspace. This is intended for first-time users of Nimbus - specifically those who have never used our webapp or IDE extensions.
For this workspace, we will focus on getting users up and running in a workspace built on a ‘Starter Template’ that we’ve created for users.
We will not cover all of the management, operations, and other features built into Nimbus.
Sign up and create an account
Before getting started, a user will need an account. You can sign up in two ways.
- Sign up via our website for an individual account → Click here to sign up
- Get invited by an existing user or team to join their team
To create an account, you will just need an email and a password.
When you log in for the first time, you will be asked for your name, time zone (to show you local times when using Nimbus), and your region (based on AWS data center regions). The region will determine the location of your workspaces. You’ll want to pick the closest region to you to ensure the lowest latency.
Create a workspace
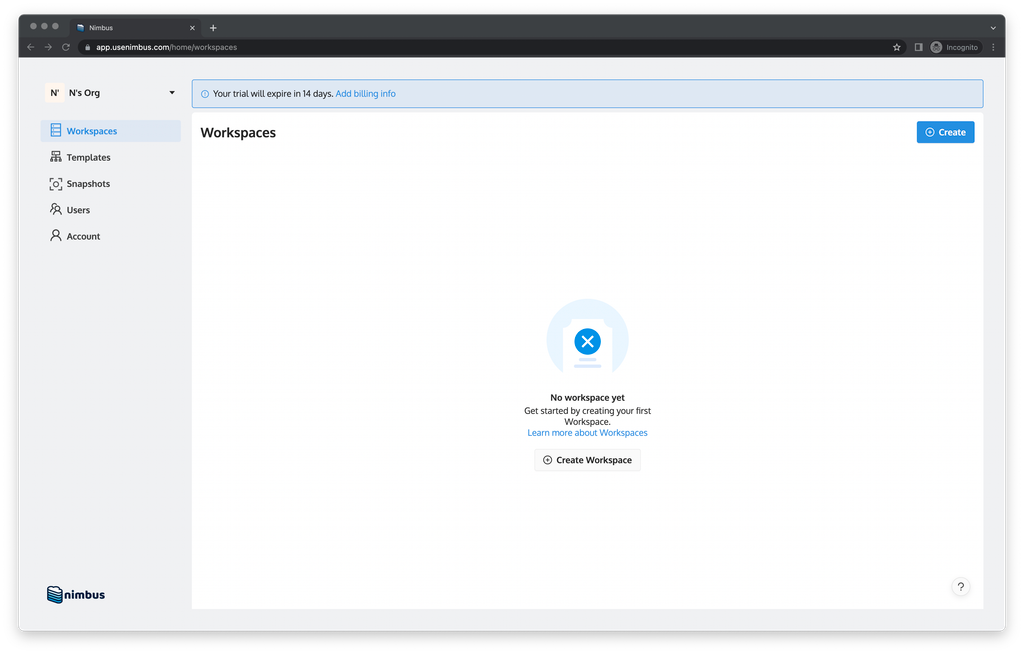
After successfully inputting your information, you will see a blank workspace page with a ‘Create’ button in the top right. Click that button to launch the ‘Create Workspace’ page and begin creating a workspace.
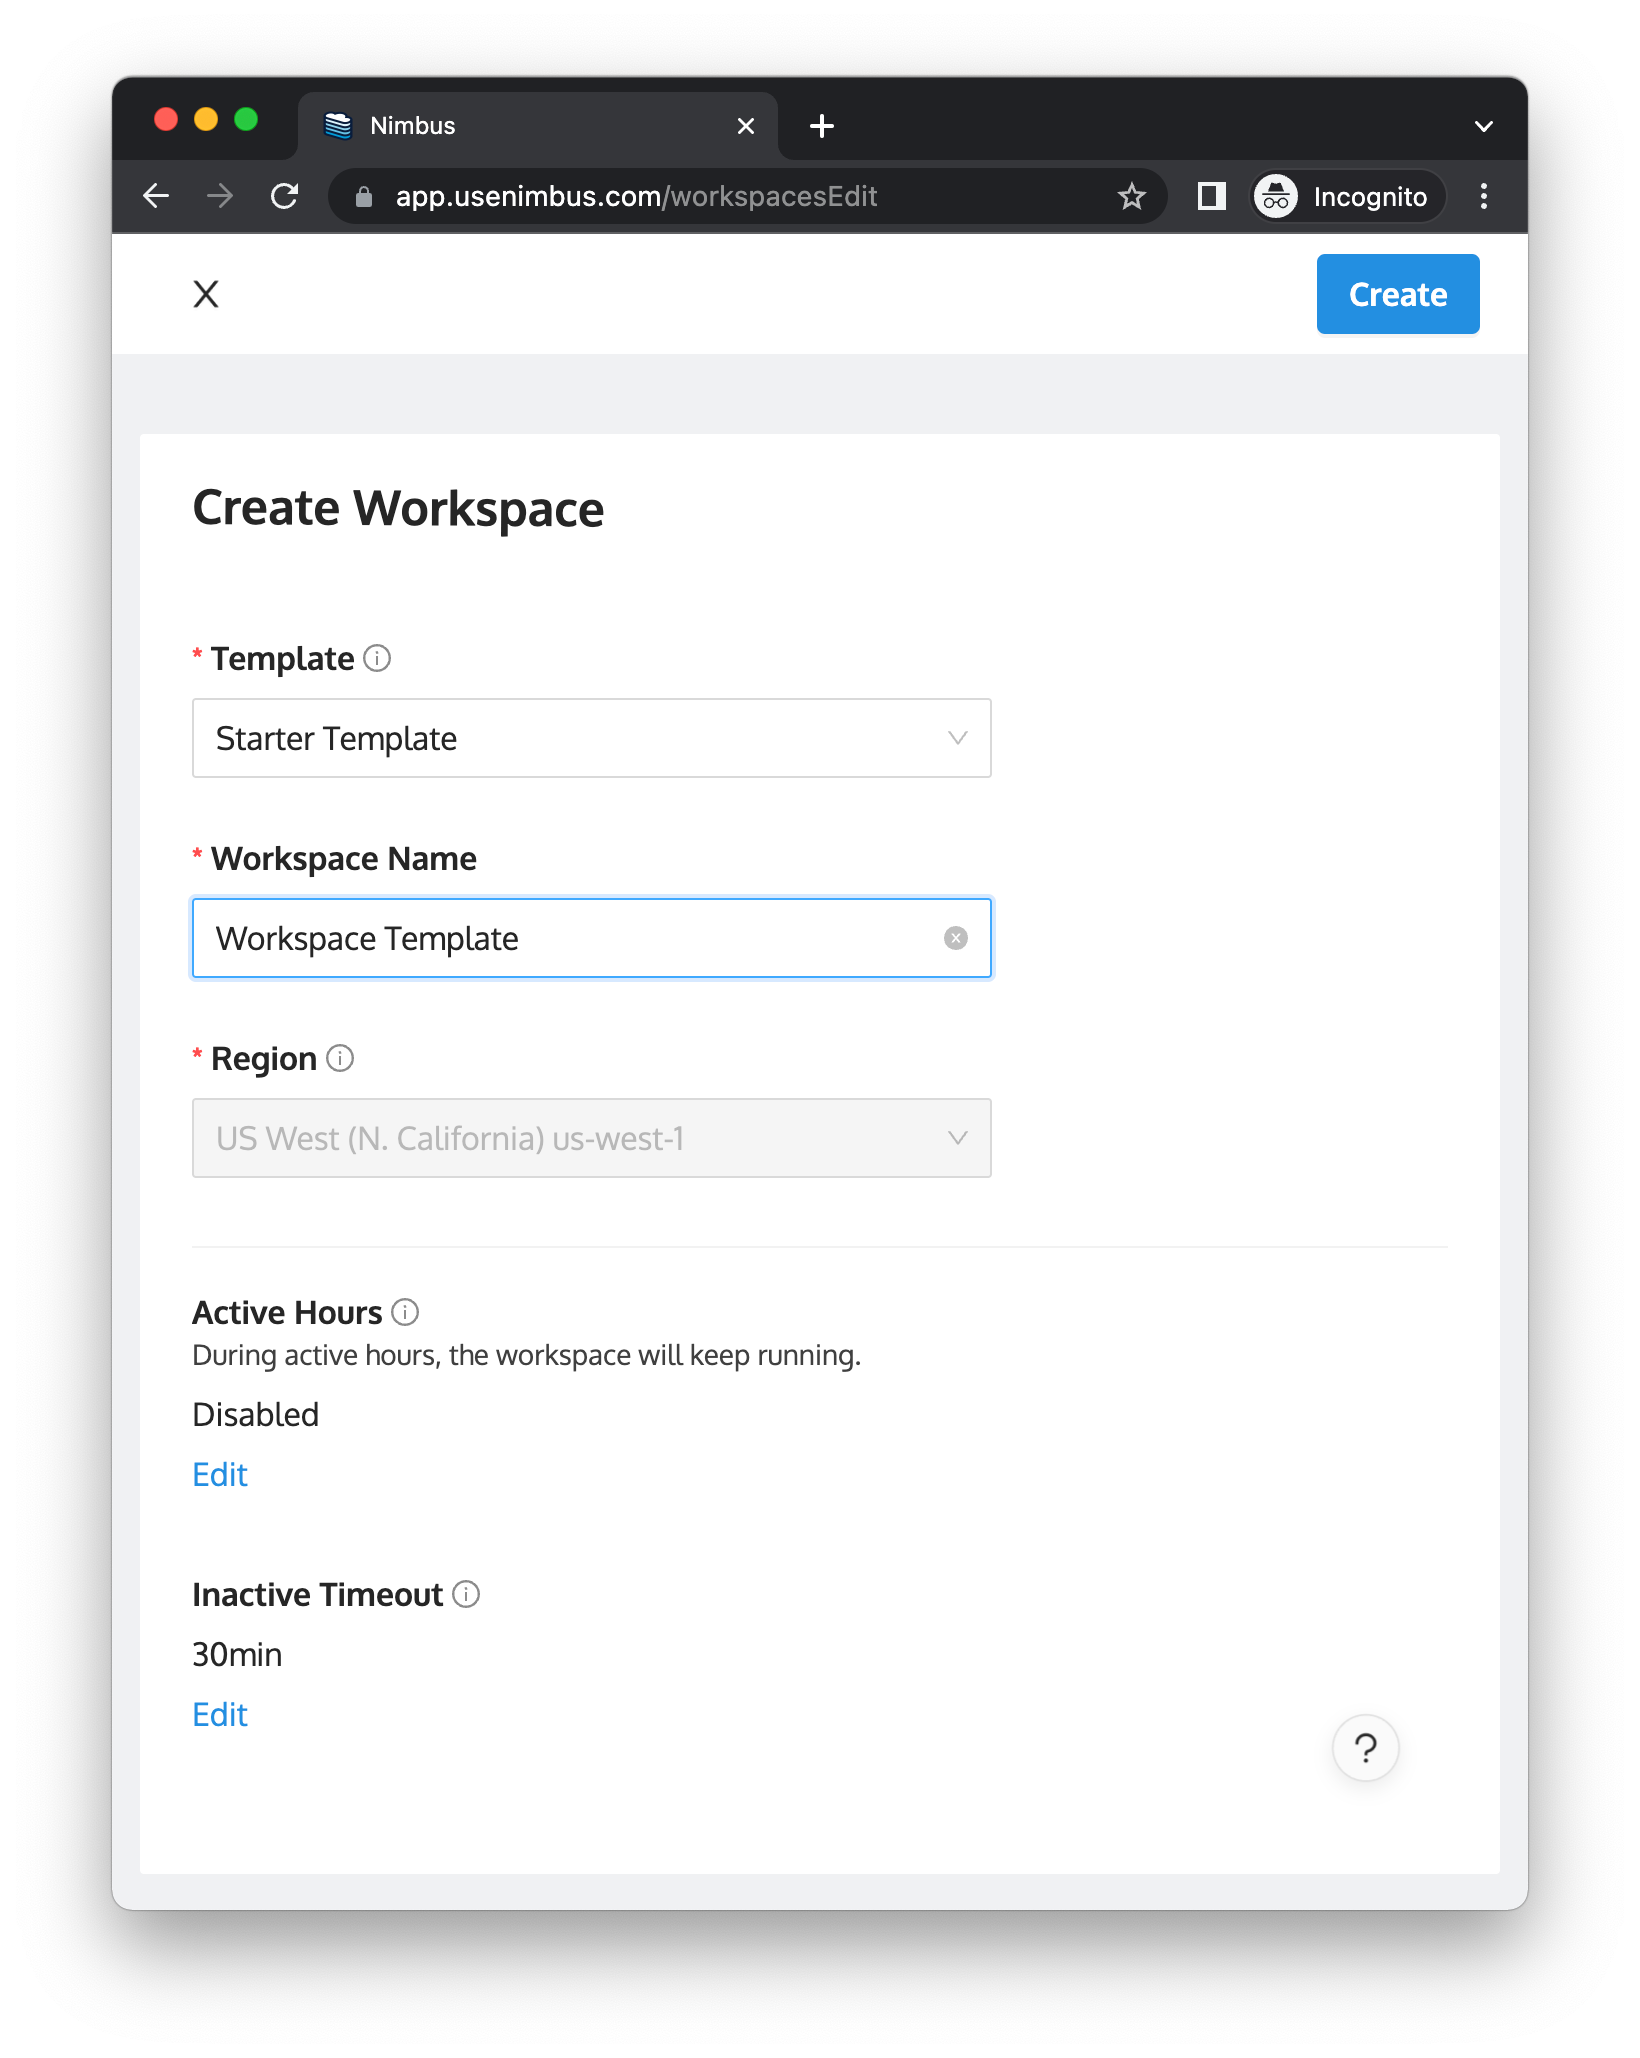
In the ‘Create Workspace’ page, the only information you will need to create a workspace is the ‘Workspace Name’. Input a ‘Workspace Name’ and hit ‘Create’ in the top right corner.
Typically, you will want to set the Template before saving the workspace as the Template is what determines the setup configuration of the workspace - but for the purposes of getting into Nimbus, let's use this ‘Starter Template’, a sample react project, which is selected by default.
When workspaces are created, they are automatically started. The first time a workspace is created, it can take up to 5 minutes depending on the size of the workspace. Because you are using the starter template, it should take no longer than 2 minutes.
See the following page for more details on creating workspaces:

Launch a workspace
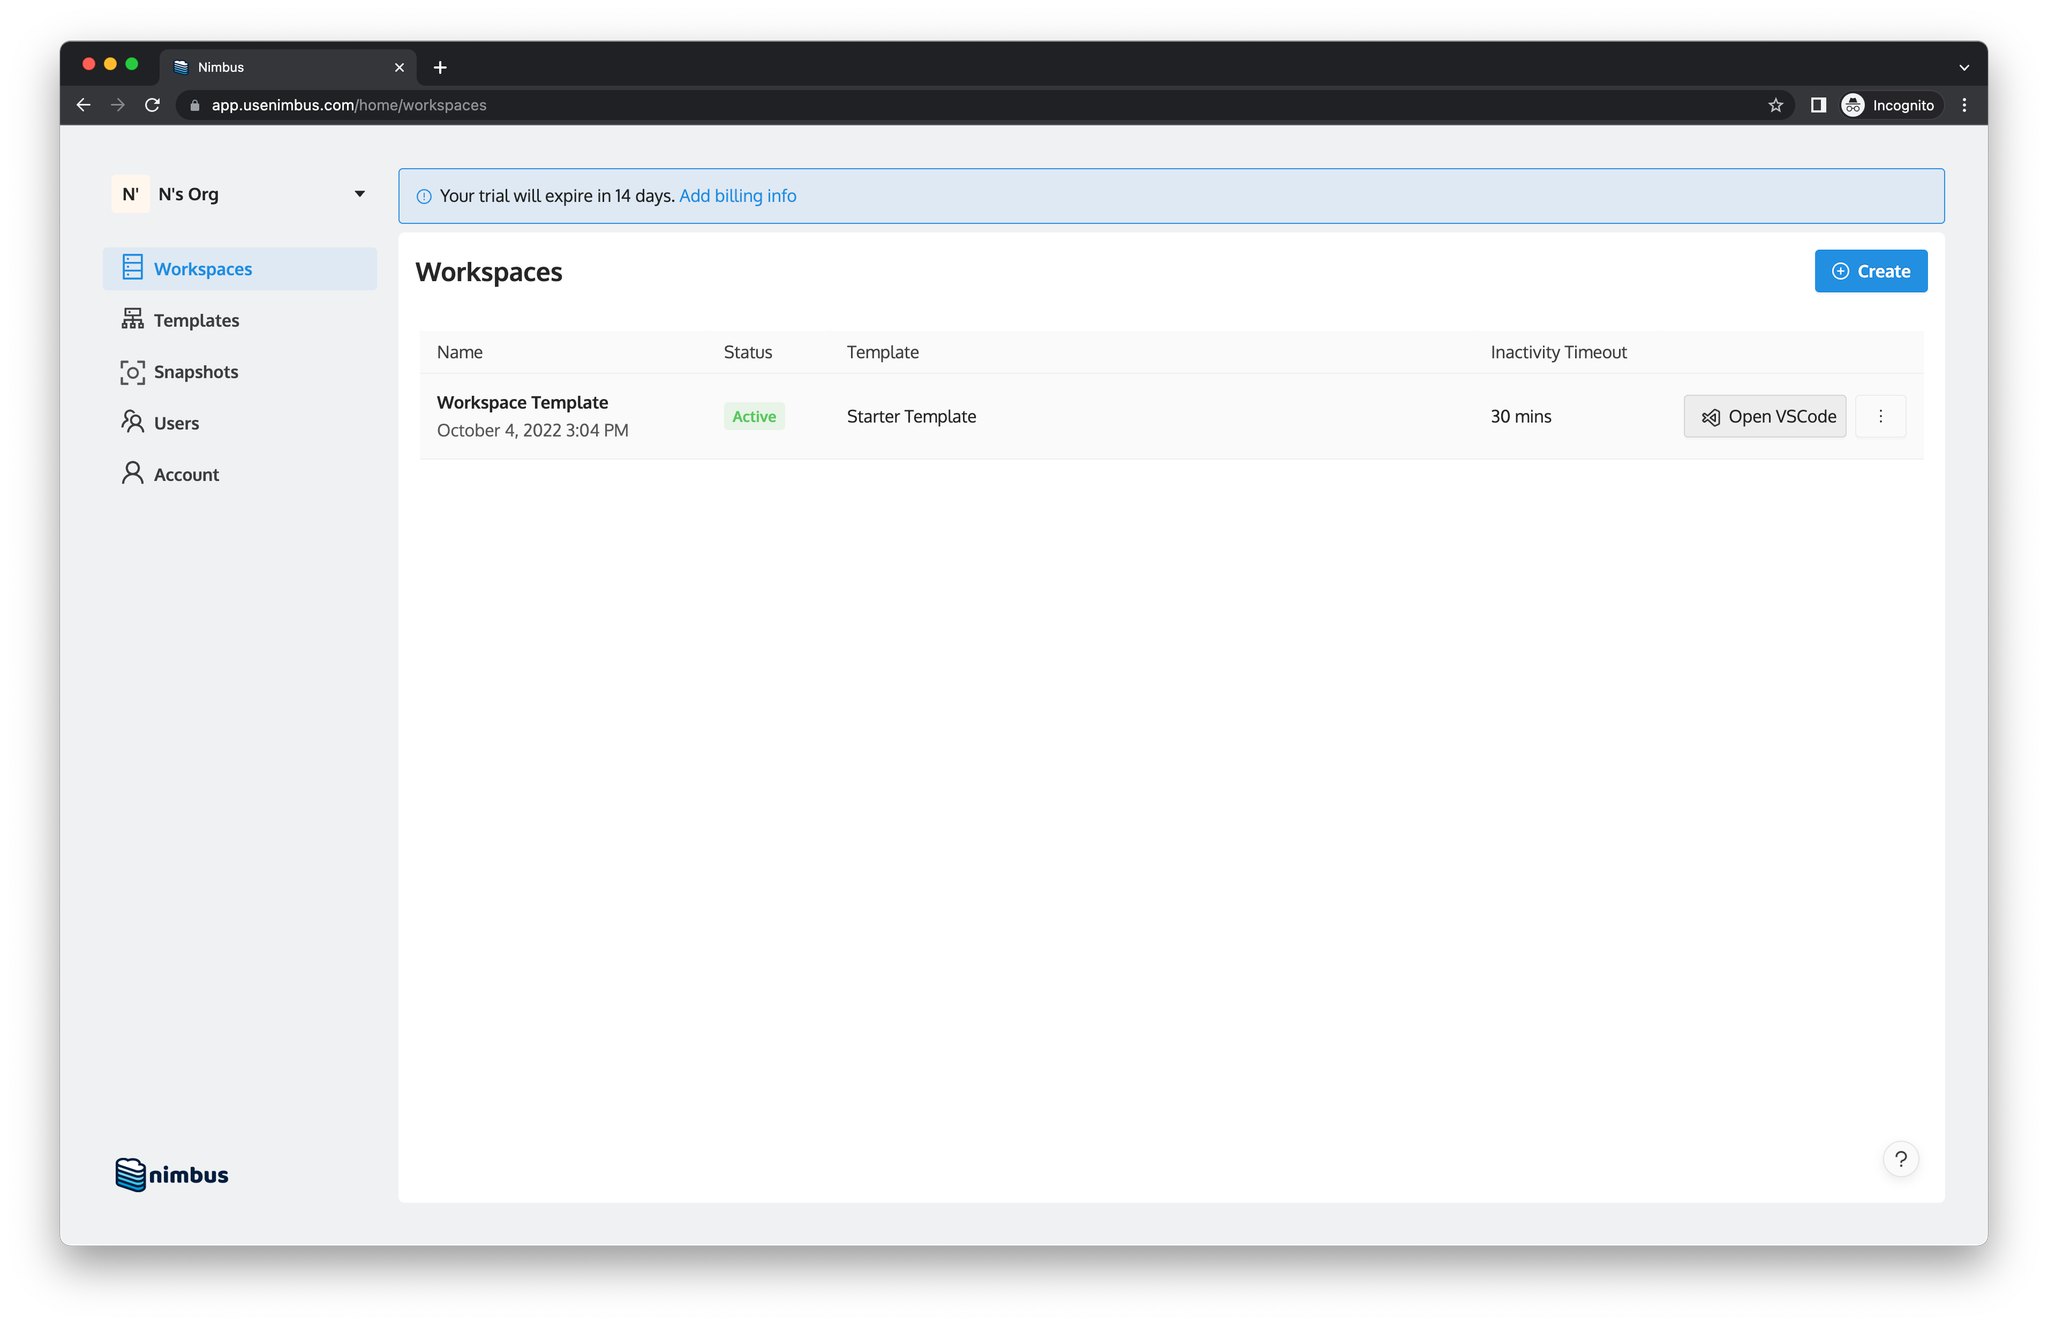
When the workspace is created and started (automatically upon creation), you will see the workspace in the Workspaces table with an “Active” status and an “Open VSCode” button.
Nimbus will perform all the actions necessary to launch the workspace when you click the “Open VSCode”. There are four actions that are performed:
- Download and install the extension if it is not already installed in VS Code
- Sign in to your Nimbus account if you are not already signed into an account
- Open a new VS Code window that has an SSH tunnel to your remote Nimbus workspace
There will be two prompts that you will need to accept to allow this:
- Allowing VS Code or Nimbus to open the URL which triggers the action
- Signing in and launching the workspace
Click ‘Open’ and ‘Allow’ to complete the required actions and open your workspace.
Workspace opened
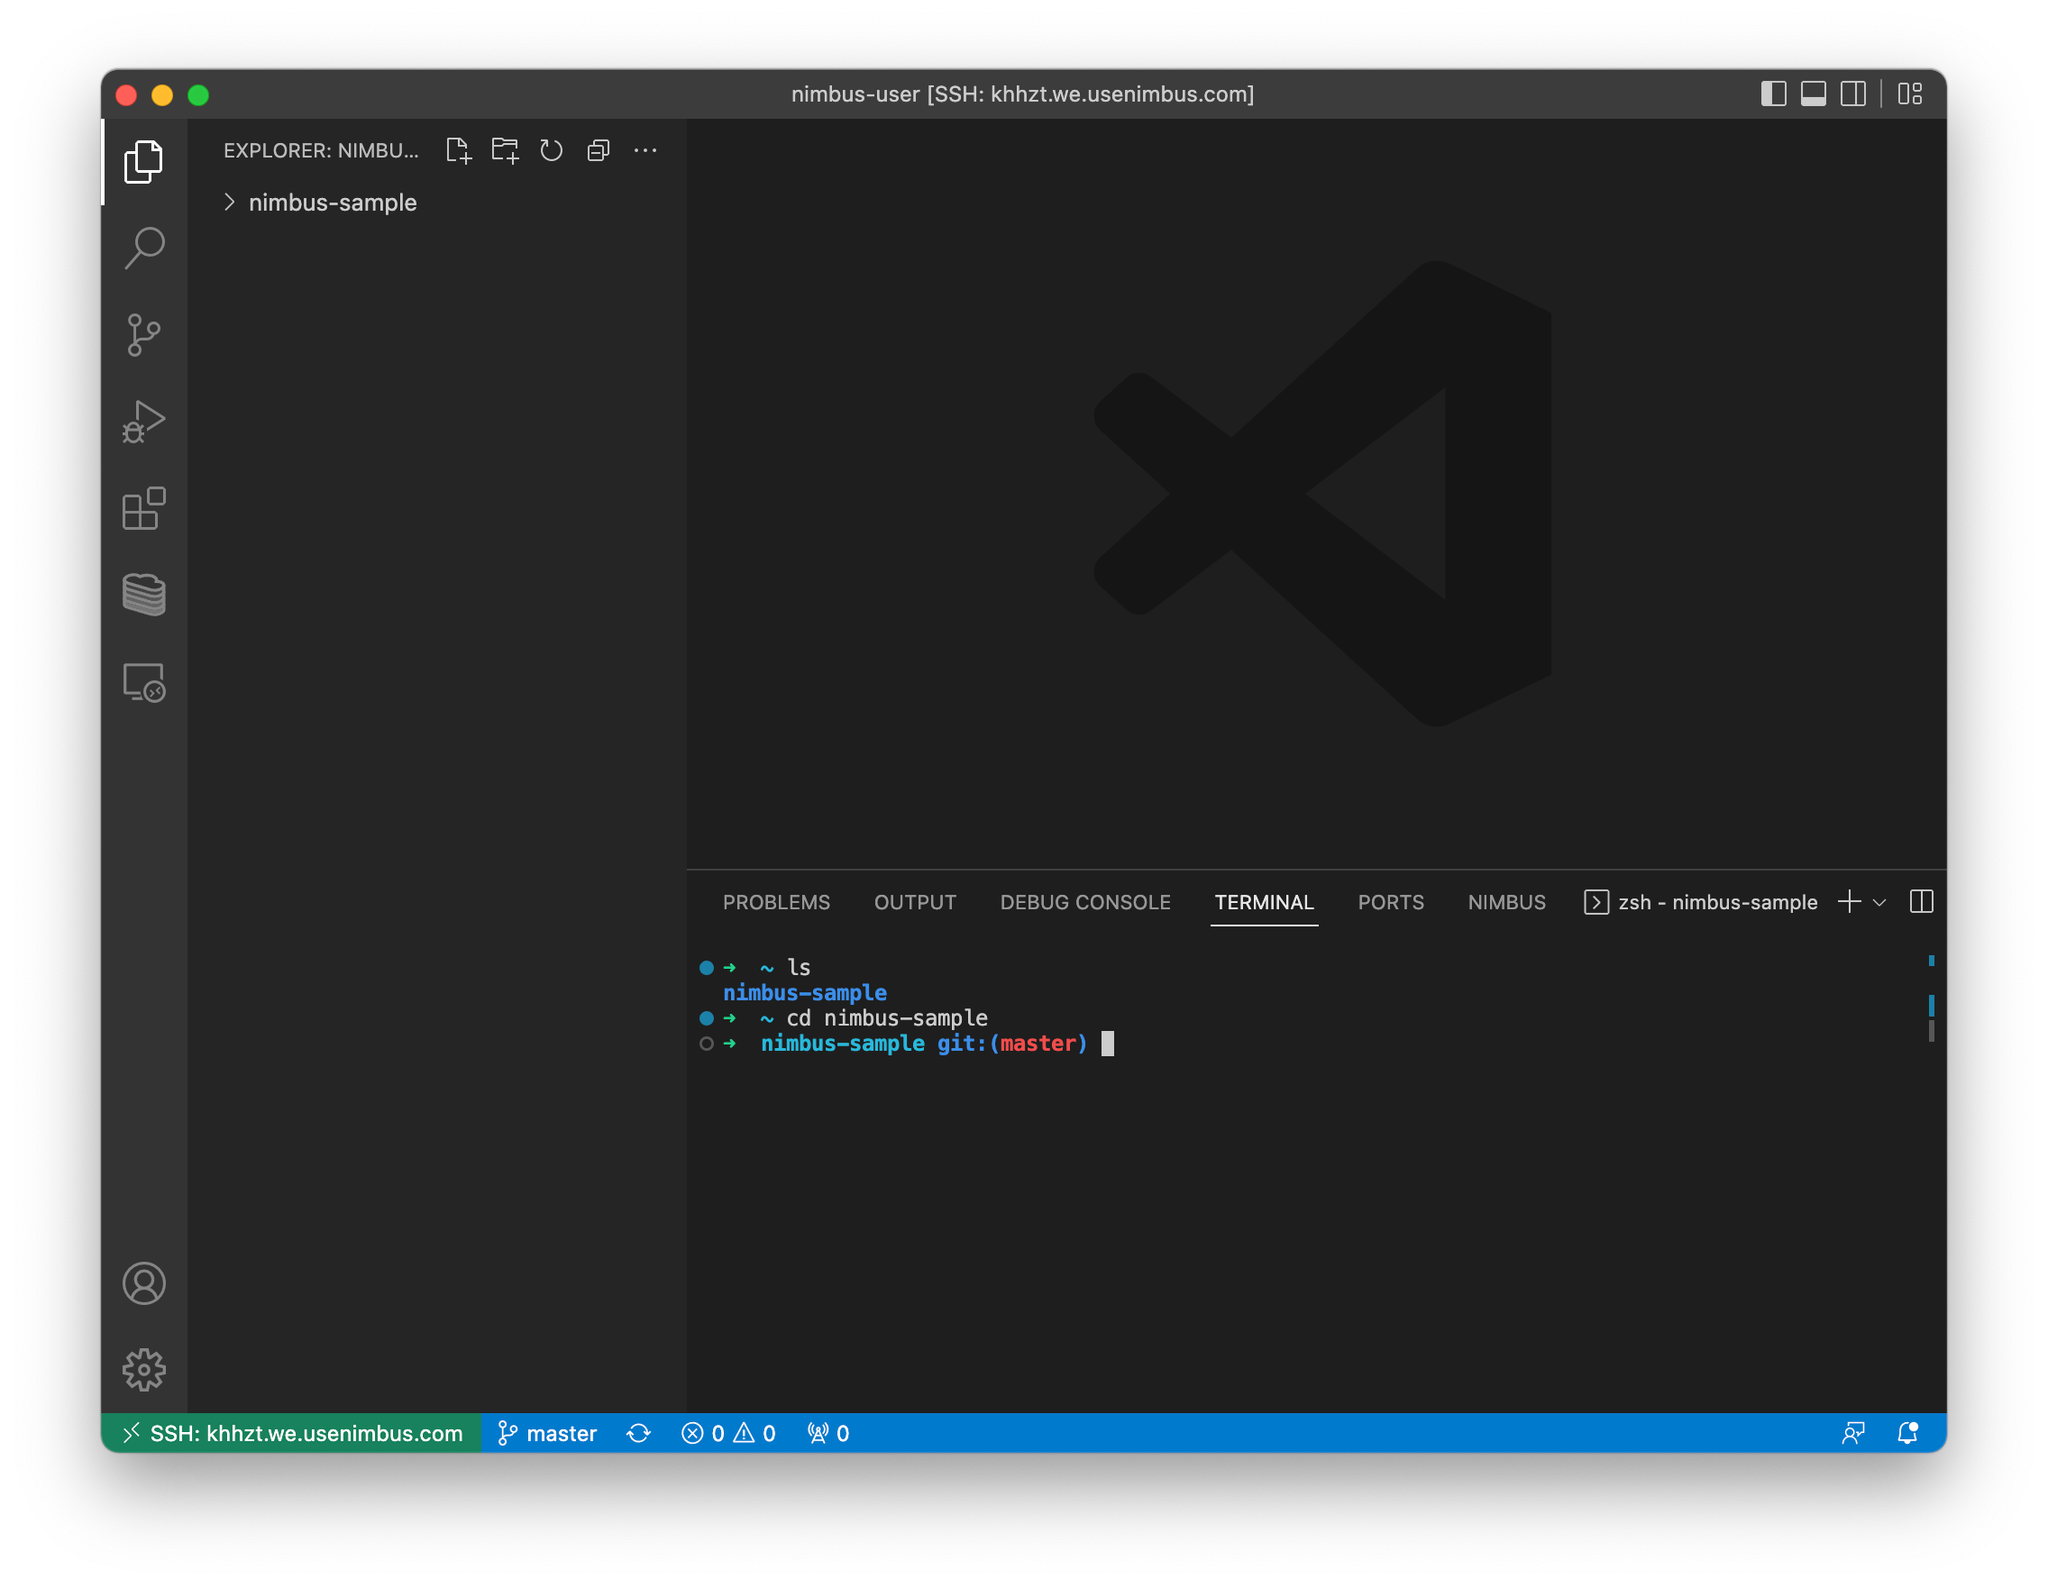
When the actions above are complete, a new window will open. In this window, you will see an SSH tunnel made to a remote host in the bottom left (in the green section).
- If a hostname is missing, that means the connection is not live or you are looking at the wrong VS Code window.
Now, you are connected to your workspace. You can use this workspace as if it were your own personal machine. Feel free to install packages, write code, or even launch the sample react project we’ve included.
- The sample project is in the ‘nimbus-sample’ directory. Simply run ‘cd nimbus-sample’ followed by ‘npm start’ to run this project.