Notion Tip: At this point, you should have already been able to log in with your Nimbus account via Nimbus VSCode extension. Otherwise, you can follow this Install Nimbus VSCode extension documentation to get started.
Overview
In this tutorial, you’ll learn how easy it is to get your workspace running and start to code.
To begin - log in to the Nimbus VSCode extension using your log-in ID (your email) and password. Once logged in, you are ready to reserve a workspace and start to code.
Reserve workspace
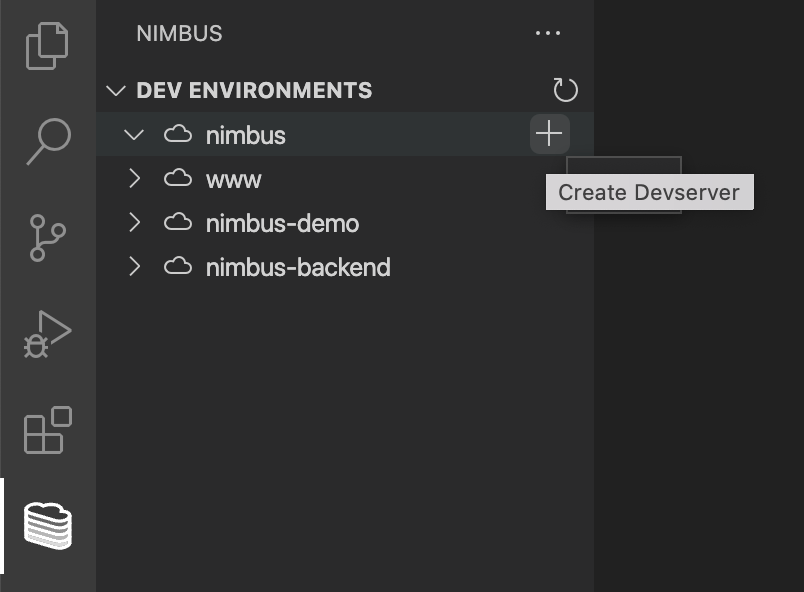
- Within the Nimbus Workspace, you will have a pre-populated list of projects. This can be managed by you or your Nimbus account administrator.

- Select the environment template that you’d like to reserve a workspace in. If you already have a workspace reserved or setup, you will see it nested under the template name in the dropdown. If you don’t have one, simply press the “+” button to create one.

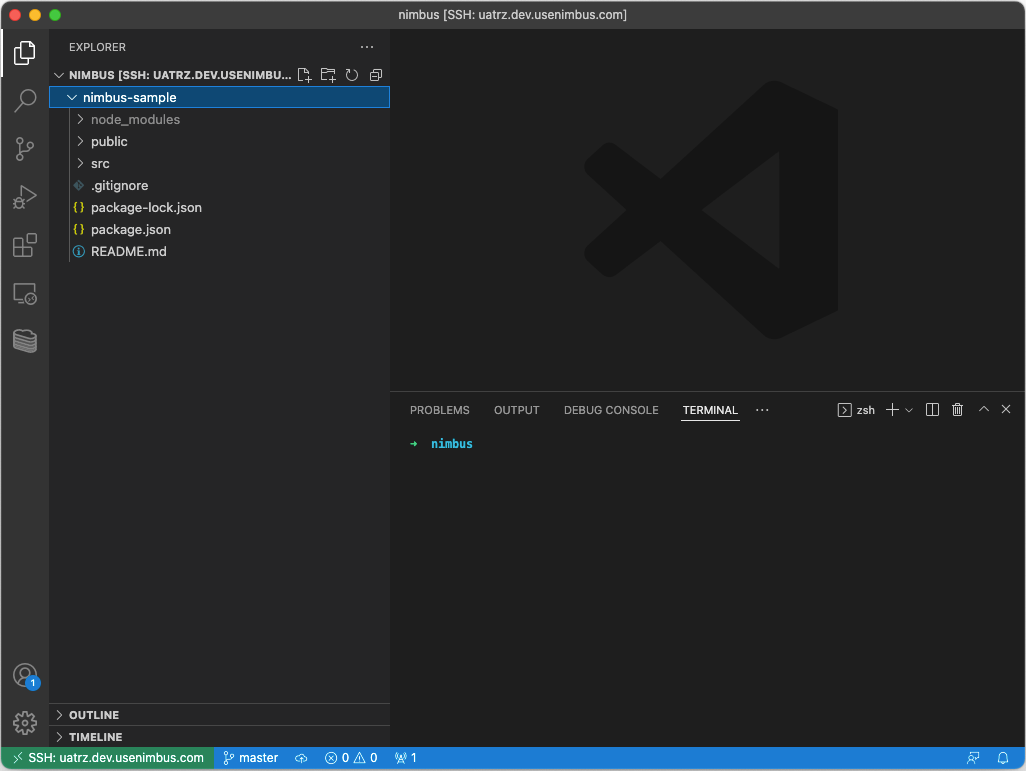
- A new VSCode window will appear with your workspace. This will take less than 10 seconds if it is a warm-start or about 1 minute for cold-start.

- Now your workspace is all set. From this point, you can start to write code as you would on your laptop.
Authentication
You may wonder how we do authenticate a user in Nimbus. What happened behind the scene is that when you reserve a workspace for the first time, we create a new pair of public/private ssh keys for you on your laptop. Then we use the public key to provision the workspace for you. So only you can with the private key can access the server.
