Nimbus uses SSH key pairs to authenticate access from a user’s computer (i.e. local machine) to Nimbus workspaces.
The process for SSH key setup differs based on the IDE you are using and if you are a first time user. In this doc, we cover all three cases.
Set up for JetBrains IDEs and all first-time users:
JetBrains IDE users will need to upload a public key via the Nimbus webapp before creating their workspace.
First-time users (those who have never connected to a a Nimbus workspace before)
See the steps below to learn how:
- Confirm that you have not already created keys on this computer
- Run
ls ~/.sshon your terminal - If you see a similar output as the following then it means you already have keys created on your computer and you can jump to Step 3 directly.
➜ ~ ls ~/.ssh/config id_ed25519.pub id_rsa.pub known_hosts.oldid_ed25519 id_rsa known_hosts- Create a new pair of keys
- Run
ssh-keygen -t ed25519 -C '<your email>'on your terminal at your home directory - Follow the instructions to finish the creation process
- Confirm that keys are successfully created (see Step 1)
Note: the keys have to be saved under the
~/.ssh directory - Identify your public key:
- Run
cat ~/.ssh/id_ed25519.pubon your terminal - Save the output for later use.
- Go to the Account page on Nimbus webapp
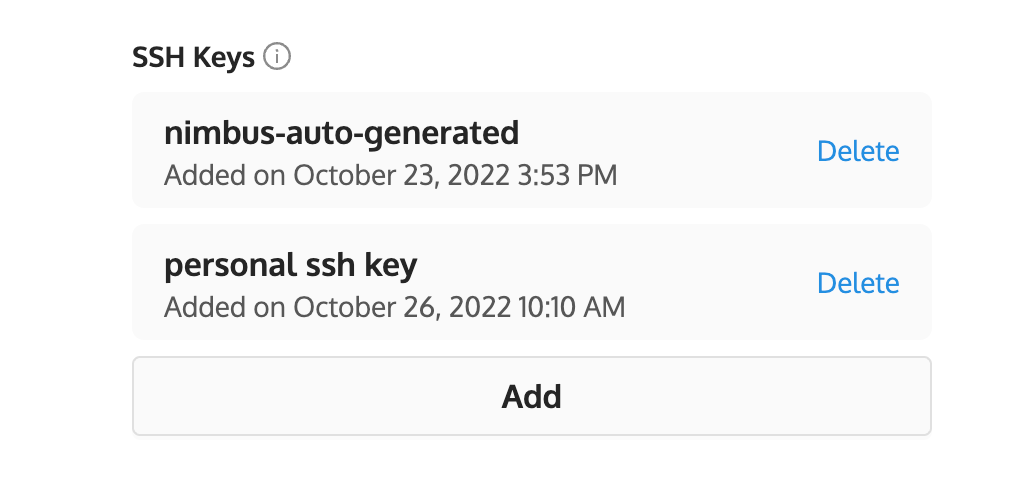
- Scroll down to the “SSH Keys” section
- Add the public key you created above
- Confirm that you can see a new key record created under “SSH Keys” section.

- Now you are good to go. You can now create a new workspace and connect to it via JetBrains IDE or VSCode
Set up for VSCode:
VSCode users do not need to set up SSH keys manually because the Nimbus extension does this for you during the connection to a Nimbus workspace from VSCode.
During this connection, the Nimbus VSCode extension creates a new SSH Key pair on your computer and passes the required key to the newly created workspace.
When this is done, a secure SSH tunnel can be established between your computer and the Nimbus workspace.
