
On this page, you will learn how to create a workspace in detail. We will go through the following steps.
- Create workspace page
- Completing workspace completion
- Finishing workspace creation
A workspace must be created based on a template before a user can launch and program within the workspace. All accounts start with a ‘Starter Template’ that you can use for creating a workspace. If a template does not exist, you will not be able to create a workspace until a template is created.
Workspaces can be created from the Workspace page or the Template page.
1a. From the Workspace Page (https://app.usenimbus.com/home/workspaces):
- Click the blue “Create” button in the top right in the Workspace Page. This will launch the Template Create page.

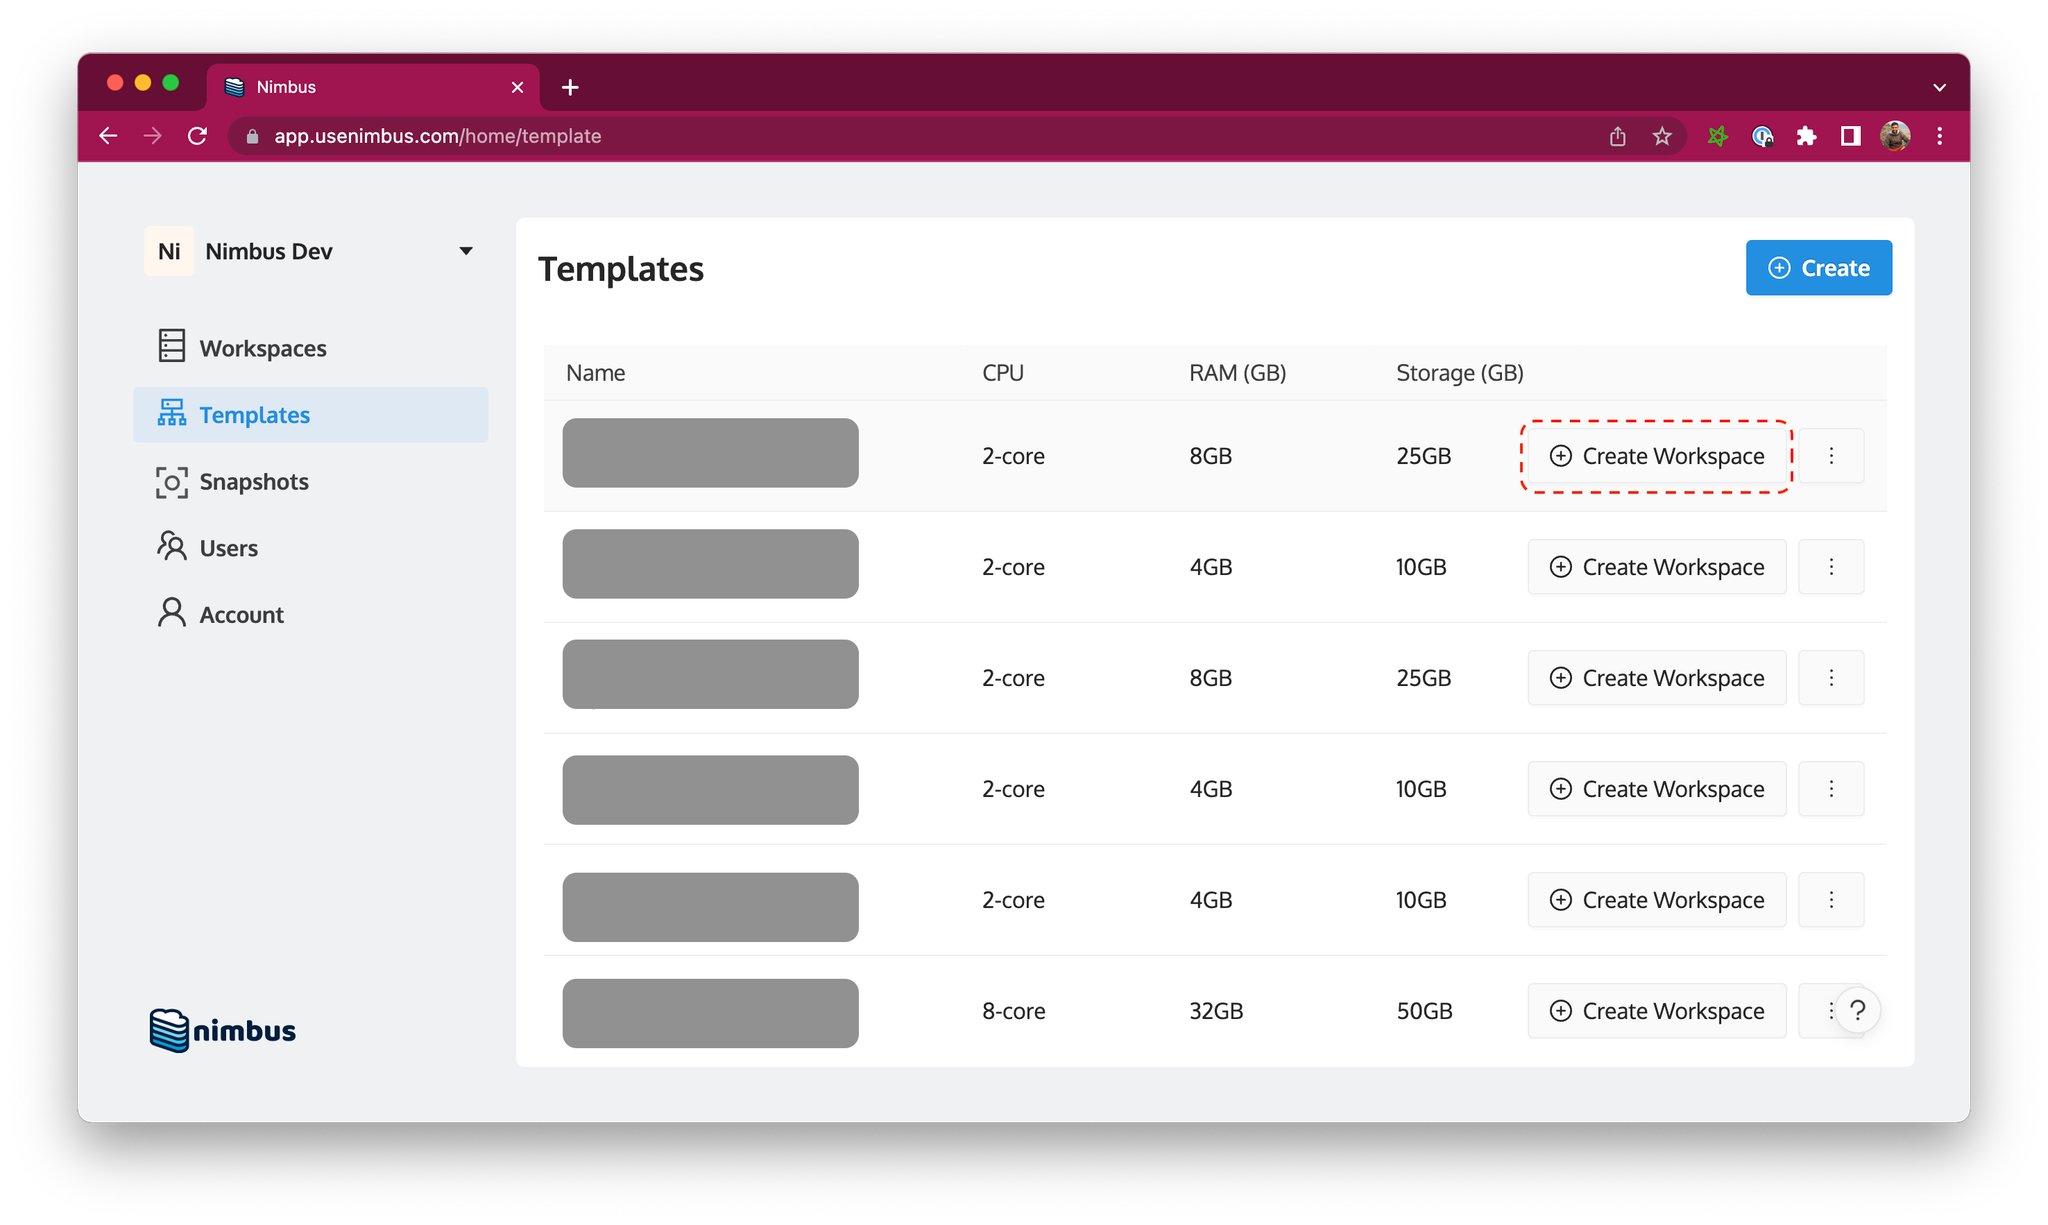
1b. Template Page (https://app.usenimbus.com/home/template):
- Click the grey “Create Workspace” button in the table (in line with the template you’d like to create the workspace for). This will launch the Workspace Create page with the template pre-selected.
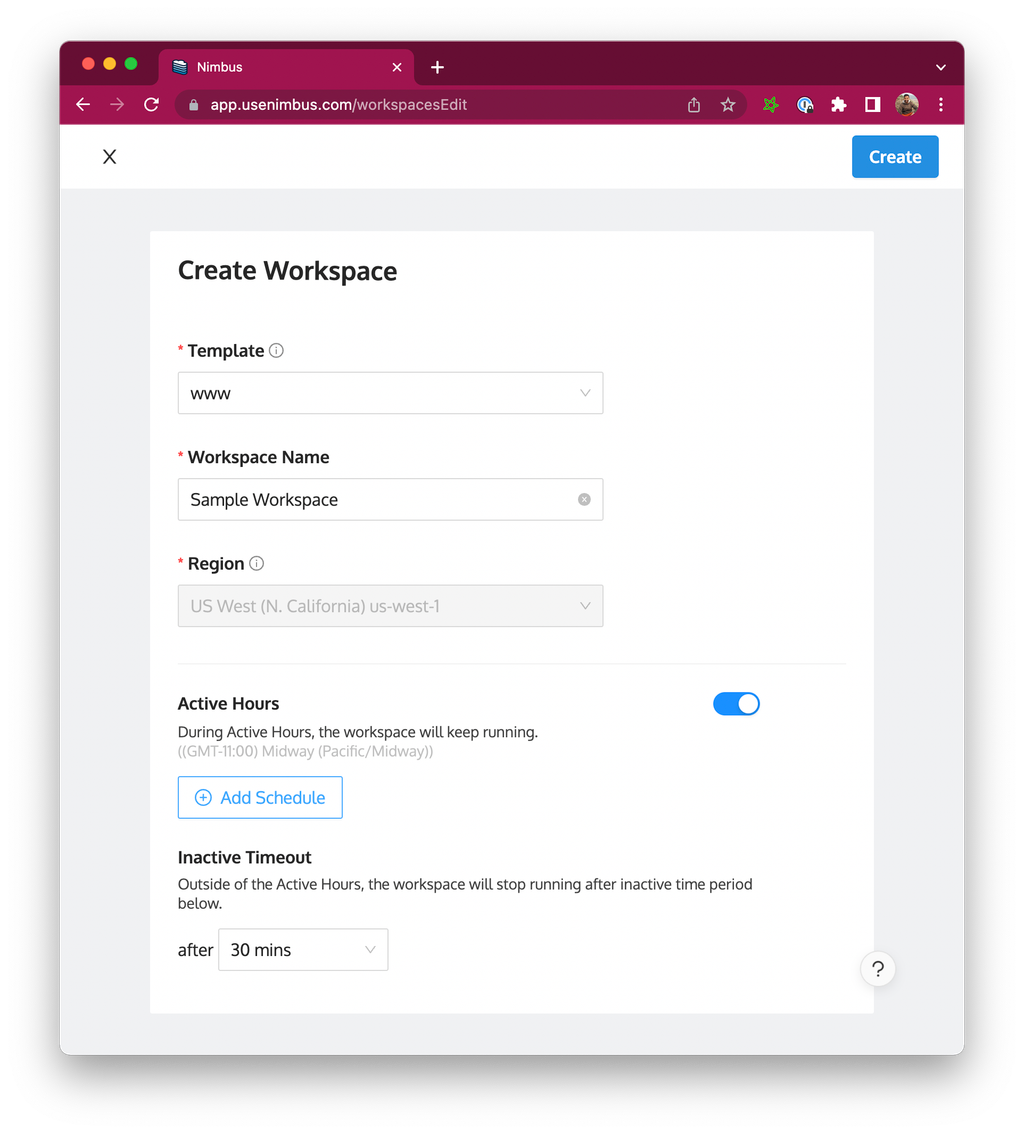
2. Create and Edit Workspace Page
- The Create Workspace page is opened when either of the two steps above are completed.
- In this page, you can finalize the source template for the workspace, give the workspace a name, see the region that the workspace will be located in, and update operational details like active hours and inactivity timeout.
- Save and create the workspace with the ‘Create’ button in the top right.
3. Finishing workspace creation
- Wait for workspace to be created. Workspaces can take between 45 seconds to 4 minutes to create. The time it takes is dependent on the details of the template: bigger and more complex templates will take longer.
- The first time a workspace is created, it will automatically “Start”. This means the workspace is ready to be launched in an IDE (via the webapp or the IDE)
At this point, your workspace creation is complete and you can get to work/play 🙂